Fusion 9 has been released, and the retail price for the Studio version has dropped to a mere $299. From this article forward, I'll be using Fusion 9 Free on Windows 10. Although the new price point makes Fusion Studio more accessible than ever, I will continue with the assumption that the student is using the Free version. Studio-only features may be detailed in supplemental chapters on the website.
In the previous chapter, we used Fusion's 3D system to match the position and angle of view of the physical camera used to take a photograph. We also did a little bit of grain and focus matching to help integrate the coffee cup into the plate. In this chapter, I'd like to expand on those ideas by discussing the various qualities and defects that film and video cameras produce and how to mimic them for the most convincing composite possible.
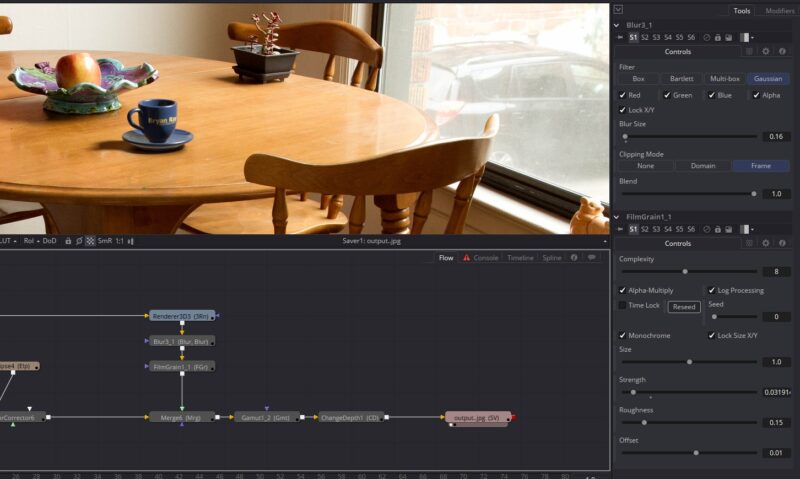
I have arranged these concepts roughly in the same order that they affect the image. When setting up a composite, it is helpful to arrange your nodes in a similar order in order to maintain realism. For instance, you wouldn't want to perform a lens distortion before the camera shake because the lens is attached to the camera and will therefore shake with it. Likewise, grain should be applied after all optical effects because it is a property of the sensor or film and therefore affects almost everything, including such things as lens flares and blur.Continue reading →